Professional Wrapping Techniques: A Step-by-Step Guide
K.G. Enterprises7 min read
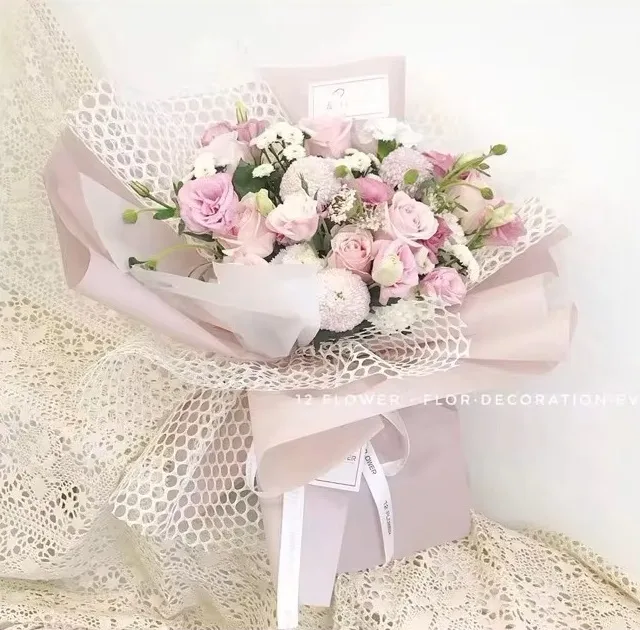
Master the art of wrapping bunches and bouquets with precision. Learn cutting techniques, paper selection, and finishing methods that impress customers and speed up your workflow.
Choosing Your Wrapping Materials
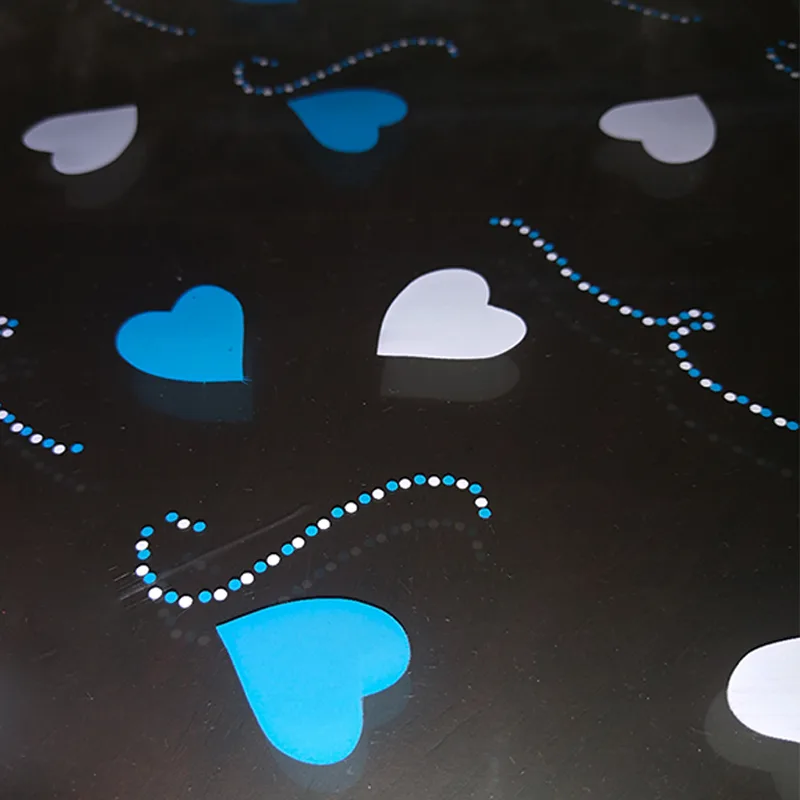
The paper you select shapes the entire presentation. Avoid thin, flimsy wrapping that tears easily—invest in quality kraft or specialty wrapping paper. Spider-net sheets add texture and visual interest while providing structural support.
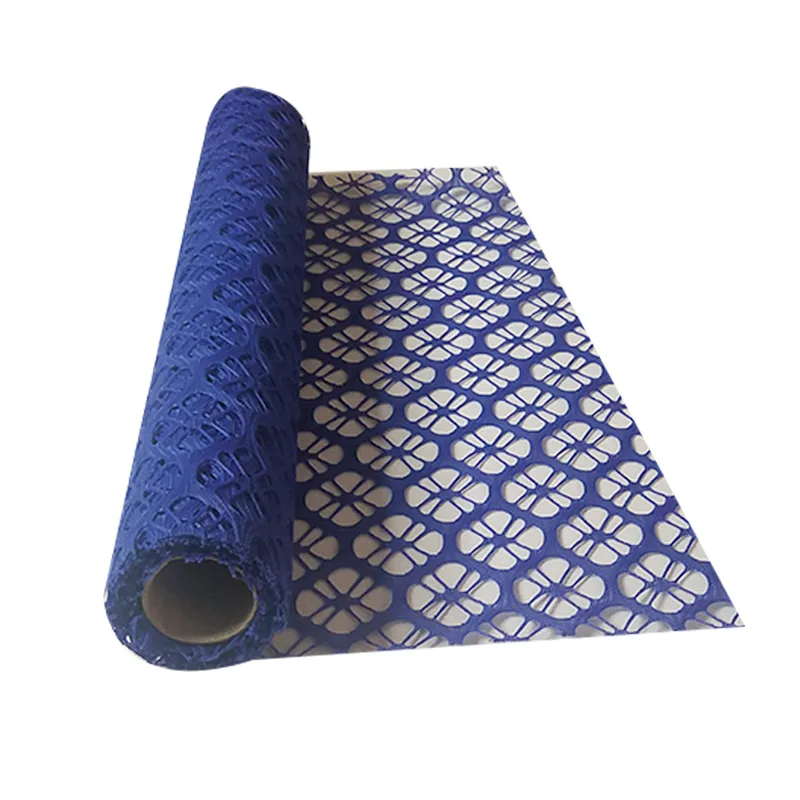
The spider-net pattern has become the industry standard for premium presentations. It holds stems securely, looks professional, and allows customers to see your flower selection without fully unwrapping.
The Spiral Wrap Technique
Professional florists use the spiral wrap method to achieve clean, elegant presentations. Begin at the base of the bunch and rotate as you wrap upward at a 45-degree angle. This prevents gaps and creates a seamless finish.
- Hold the bunch firmly with your left hand (if right-handed)
- Start at the base with the paper at a sharp angle
- Rotate the bunch, not your hands, as you wrap
- Overlap each layer by one-third the paper width
- Complete one full spiral to the top of the stems
Once mastered, this technique takes just 60 seconds per bunch. Beginners should allow 90 seconds while building muscle memory.
Securing the Wrap
Never use weak tape. Use waterproof florist tape that holds even when damp. A single horizontal wrap around the middle, followed by one at the base, ensures the entire paper bundle stays intact.
Good wrapping protects your flowers, impresses your customers, and justifies premium pricing on every arrangement.